About Injection Molding
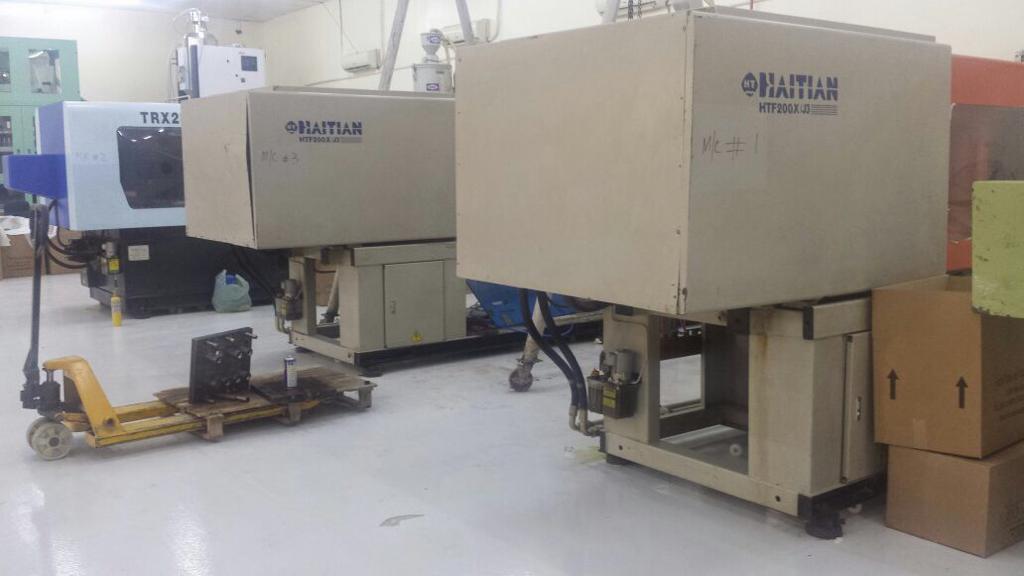
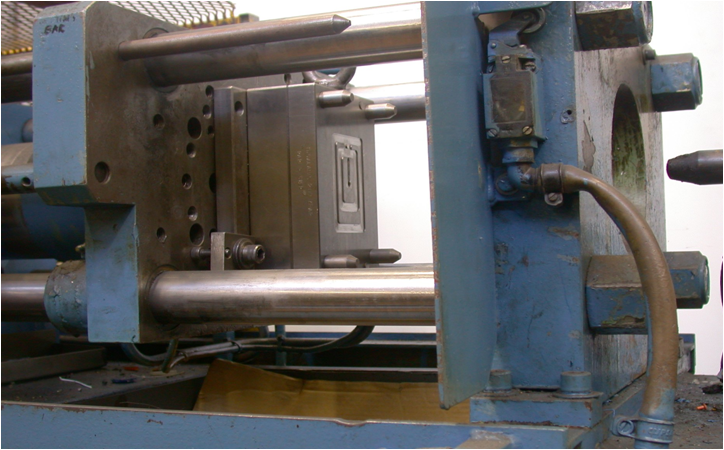
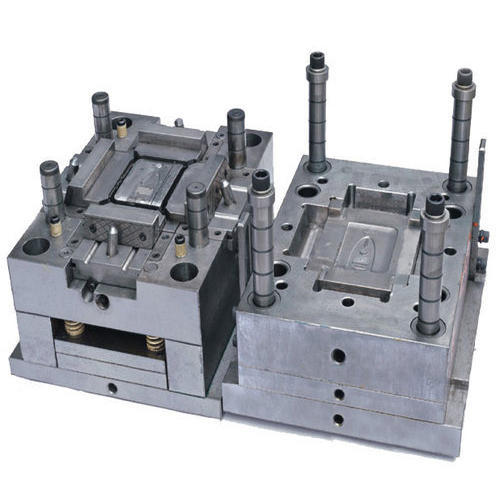
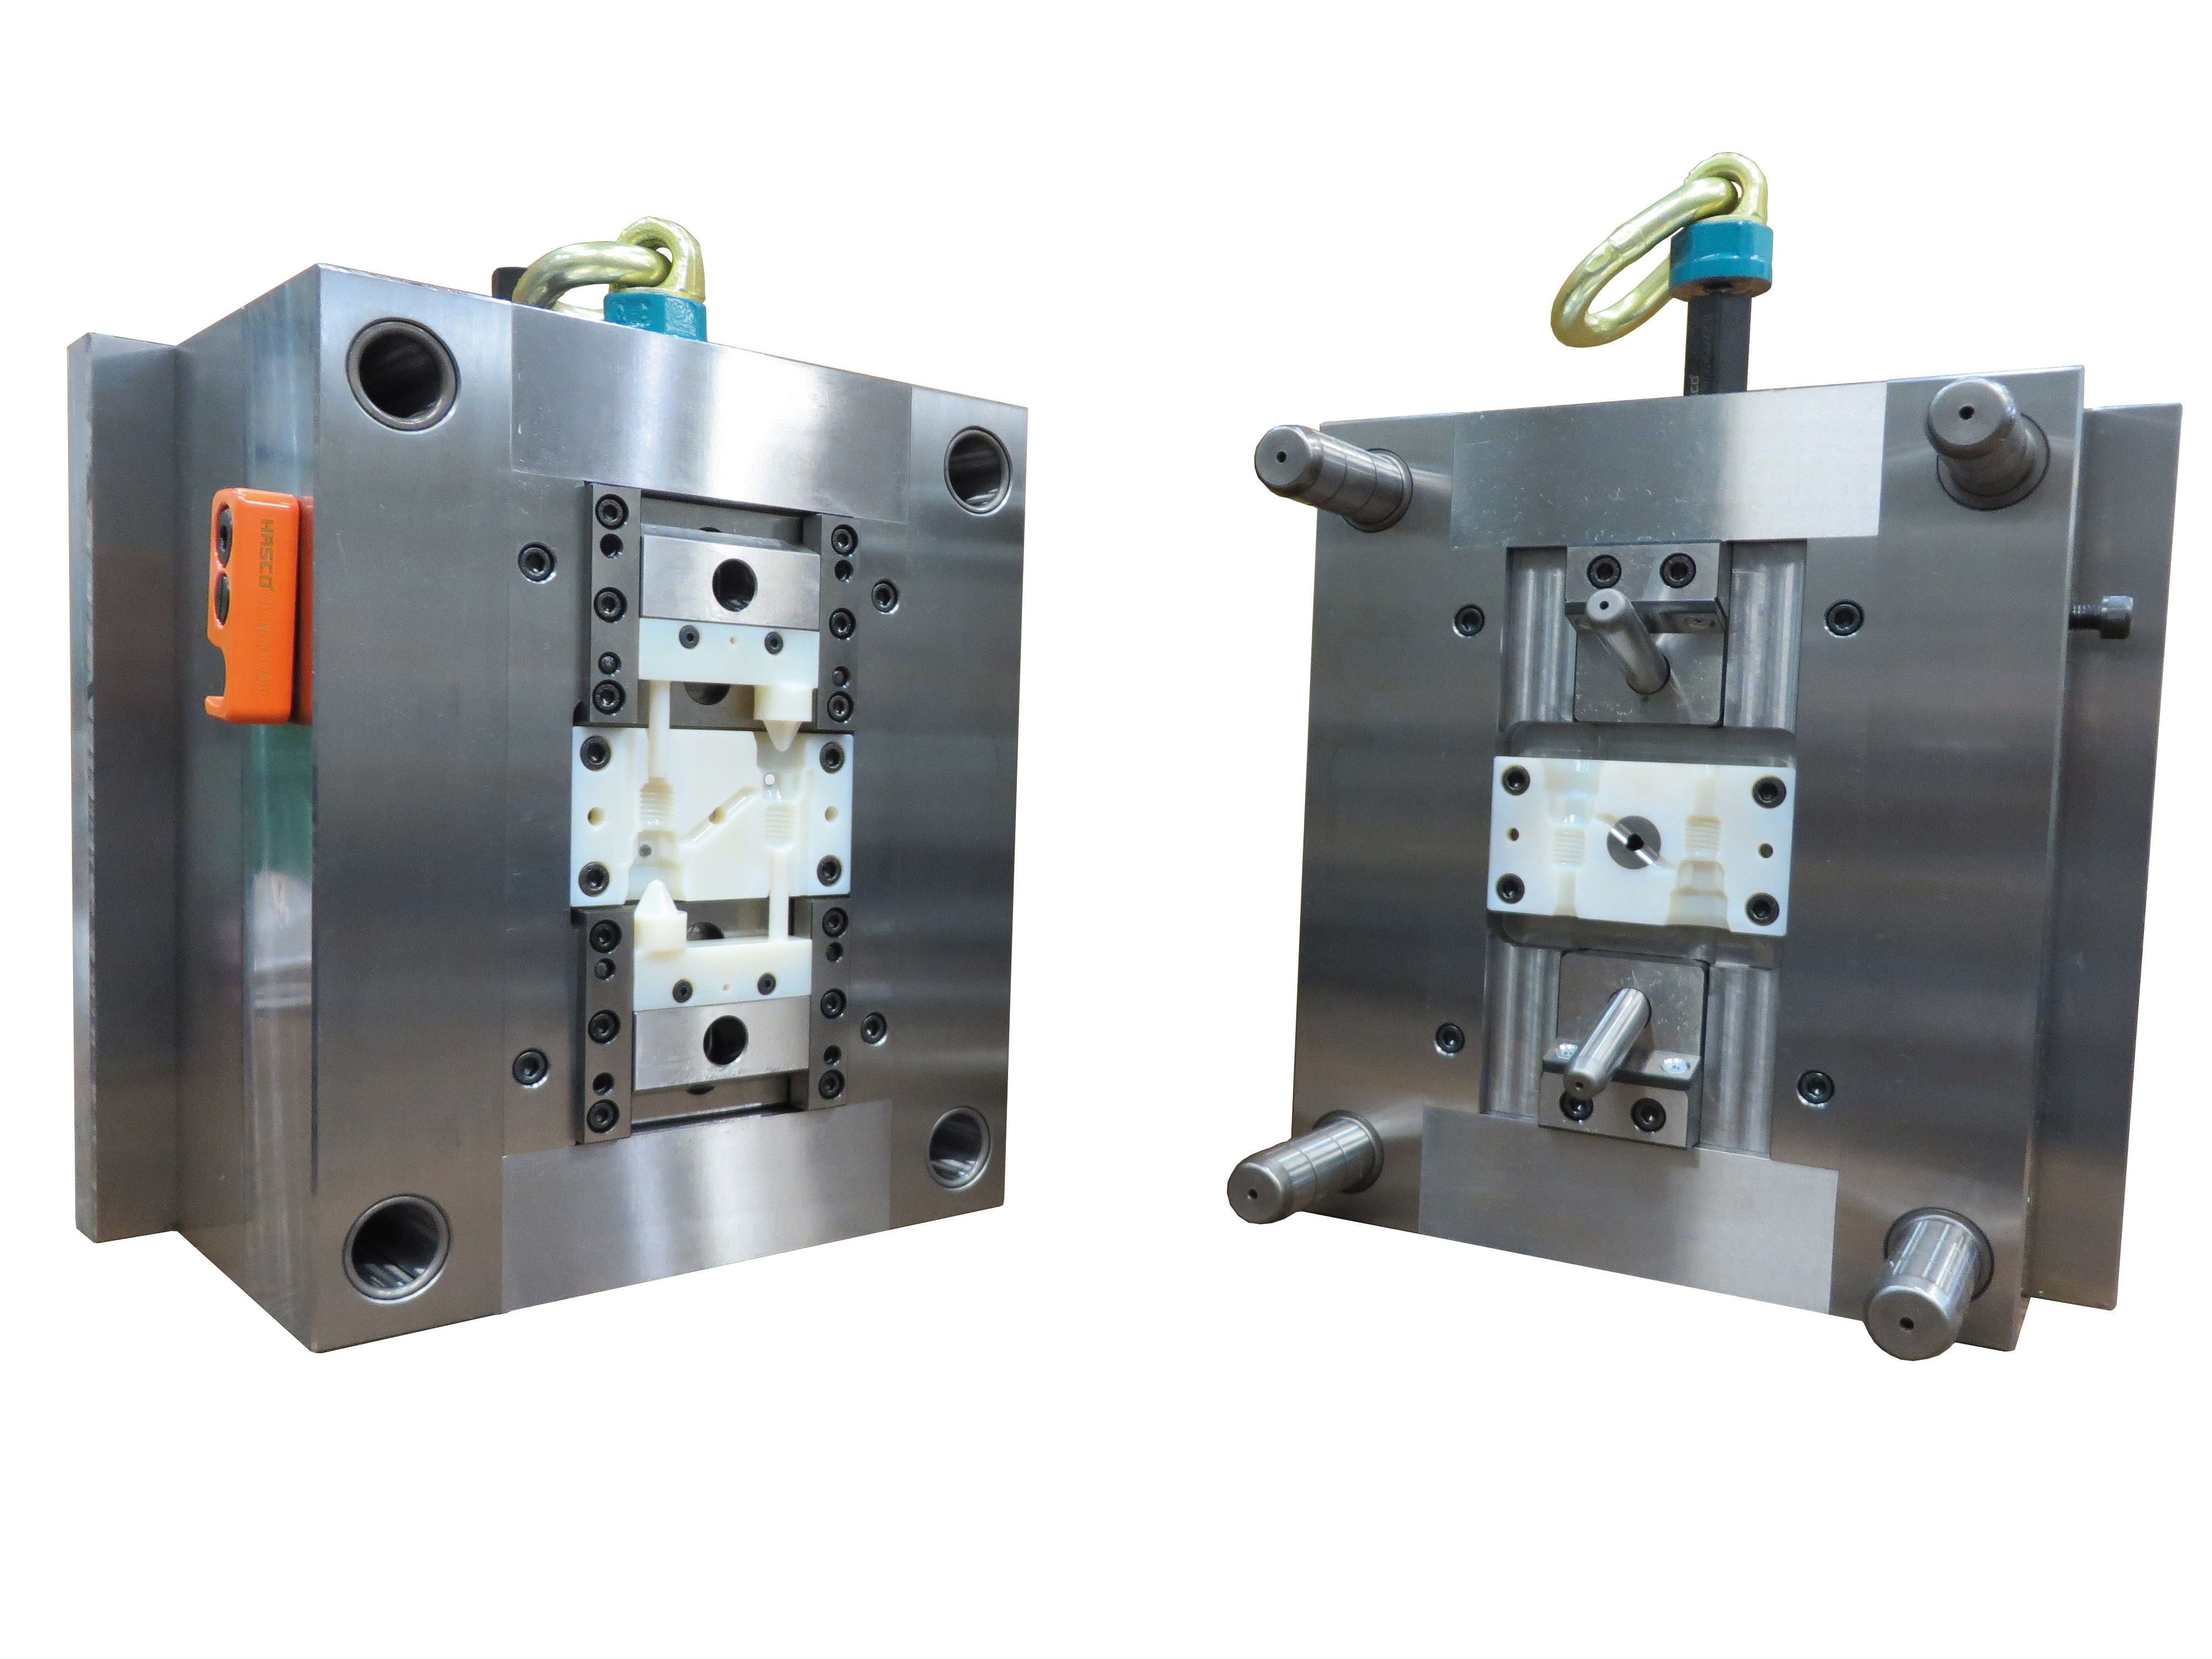
Injection mold construction is the process of creating molds that are used to perform injection molding operations using an injection molding machine. These are generally used to produce plastic parts using a core and a cavity.
Molds are designed as two-plate or three-plate molds, depending on the type of component to be manufactured. The two plate mold requires a single day in light, while the three plate mold requires two days. Mold construction depends on the shape of the component, which determines the parting line selection, runner and gate selection and component ejection system selection. The mold base size depends on component size and number of cavities to be planned per mold.
Design considerations
- Draft: Required in both the core and cavity for easy ejection of the finished component
- Shrinkage allowance: Depends on shrinkage property of material core and cavity size
- Cooling circuit: In order to reduce the cycle time, water circulates through holes drilled in both the core and cavity plates.
- Ejection gap: The gap between the ejector plate face and core back plate face should hold dimension within the core. It must allow component to be fully removed from the mold.
- Air vents: Removes gases entrapped between core and cavity (usually less than 0.02 mm gap), because excessive gaps can result in flash defects.
- Mold polishing: The core, cavity, runner and sprue should have good surface finish and should be polished along material flow direction.
- Mold filling : The gate should be placed such that the component is filled from the thicker section to thinner section.
Elements
- Register ring—Aligns injection molding machine screws with the injection mold. Usually made of case-hardened, medium carbon steel material (CHMCS).
- Sprue bush—The bush has a taper hole of 3° to 5° and is usually made of CHMCS. The material enters the mold through the sprue bush.
- Top plate—It is used to clamp the top half of the mold to the moving half of the molding machine and is usually made of mild steel.
- Cavity plate—The plate used to create a cavity (via a gap) that will be filled with the plastic material and form the plastic component. Usually made of mild steel.
- Core plate—The core plate projects into the cavity place and creates hollow portions in the plastic component. This core plate is usually made of hardened hot die P20 steel without hardening after core machining.
- Sprue puller bush—The sprue puller bush is used to accommodate the sprue puller pin; usually made of CHMCS.
- Sprue puller pin—The sprue puller pin pulls the sprue from the sprue bush. It is usually made of CHMCS
- Core back plate—It holds the core insert in place and acts as a "stiffener". It is usually made of mild steel.
- Guide pillar and guide bush—The guide pillar and guide bush align the fixed and moving halves of a mold in each cycle. The material cases are usually made of medium carbon steel and will have higher hardness.
- Ejector guide pillar and guide bush—These components ensure the alignment of the ejector assembly so that the ejector pins are not damaged. They are usually made of CHMCS. The guide pillar typically has higher hardness than the guide bush.
- Ejector plate—This holds the ejector pins and is usually made of mild steel.
- Ejector back plate—It prevents the ejector pins from disengaging; usually of mild steel material.
- Heel blocks—Provides a gap for the ejector assembly, so that the finished component ejects from the core. Usually made of mild steel.
- Bottom plate—Clamps the bottom half of the mold with the fixed half of the molding machine; usually made of mild steel.
- Centering bush—Provides alignment between the bottom plate and the core back plate; usually made of CHMCS.
- Rest button—Supports the ejection assembly and reduces the area of contact between the ejection assembly and the bottom plate. It is most helpful when cleaning the injection molding machine, which is essential to ensure an "unmarked" finished component. Small foreign particles sticking to the bottom plate may cause ejection pins to project out from the core and result in ejection pin marks on the component.
The core and cavity will be usually be made of either P20, En 30B, S7, H13, or 420SS grade steel. The core is the male part which forms the internal shape of molding. The cavity is the female part which forms external shape of molding.
Gate types
The two main gate systems are manually trimmed gates and automatically trimmed gates. The following examples show where they are used:
- Sprue gate: Used for large components, the gate mark is visible in component and no runner is required. e.g.: bucket molding (backside cylindrical gate mark visible and can be felt).
- Edge gate: Most suitable for square, rectangular components
- Ring gate: Most suitable for cylindrical components to eliminate weld line defect
- Diaphragm gate: Most suitable for hollow, cylindrical components
- Tab gate: Most suitable for solid, thick components
- Submarine gate: Used when auto de-gating is required to reduce cycle time
- Reverse taper sprue gate (Pin gate): Generally used in three plate molds.
- Winkle Gate: Its mainly used for electronics product gate flow the material under the core side
Ejection system types
- Pin ejection—Cylindrical pins eject the finished component. In the case of square and rectangular components, a minimum of four pins (at the four corners) are required. In the case of cylindrical components, three equidistant pins (i.e. 120° apart) are required. The number of pins required may vary based on the component profile, size and area of ejection. This ejection system leaves visible ejection marks on the finished component.
- Sleeve ejection—This type of ejection is preferred for (and limited to) cylindrical cores, where the core is fixed in the bottom plate. In this system, the ejection assembly consists of a sleeve that slides over the core and ejects the component. No visible ejection marks are apparent on the component.
- Stripper plate ejection—This ejection is preferred for components with larger areas. This system calls for an additional plate (stripper) between the core and cavity plates. To avoid flash, the stripper plate remains in contact with the cavity plate and a gap is maintained between the cavity and core plate. Visible ejection marks are usually not noted on components.
- Blade ejection—This type of ejection is preferred for thin, rectangular cross sections. Rectangular blades are inserted in cylindrical pins (or cylindrical pins are machined to rectangular cross sections) to create an appropriate ejection length for the component. For easy accommodation of the ejection pin head, a counter bore is provided in the ejection plates.
- By rotation of core (internal threaded components)—Used for threaded components, where the component is automatically ejected by rotating the core insert.
- Air ejection—Used to actuate the ejection pin fitted in the core using compressed air. The ejection pin is retracted using a spring.
Alignment
Injection molds are designed as two halves, a core half and a cavity half in order to eject the component. For each cycle, the core and cavity are aligned to ensure quality. This alignment is ensured by guide pillar and guide bush. Usually, four guide pillars and guide bushes are used, out of which three pillars are of one diameter and one is of a different diameter, to force the plates into a single configuration. The register ring has interference fit in top plate and transmission fit with the injection molding machine pattern, aligning the machine pattern and top plate.
Mold cooling
Desirable attributes of the mold cooling design include:
- Constant mold temperature for uniform quality
- Reduced cycle time for productivity
- Improved surface finish without defects
- Avoiding warpage by uniform mold surface temperature (warpage caused by nonuniform cooling)
- Long mold life
Methods
- Cavity plate cooling by drilled holes—The cavity plate is drilled around the cavity insert and plugged with copper or aluminum taper plugs at the ends of openings. Using pipe connected at the inlet and outlet ports, water is circulated to cool the mold.
- Direct cooling of core insert (baffle system)—The core is drilled by keeping sufficient wall thickness. A baffle plate is located between the drilled hole, dividing the hole into two halves, allowing the water to contact the maximum area in core so cooling may take place.
- Annular cooling of cavity insert—A circular groove is made on the core for water circulation. To prevent leakage, O-rings are used above and below the cooling channel.
- Core is moving side & cavity is fixed side in a .eg
Cooling can affect product quality


